The wheel sets
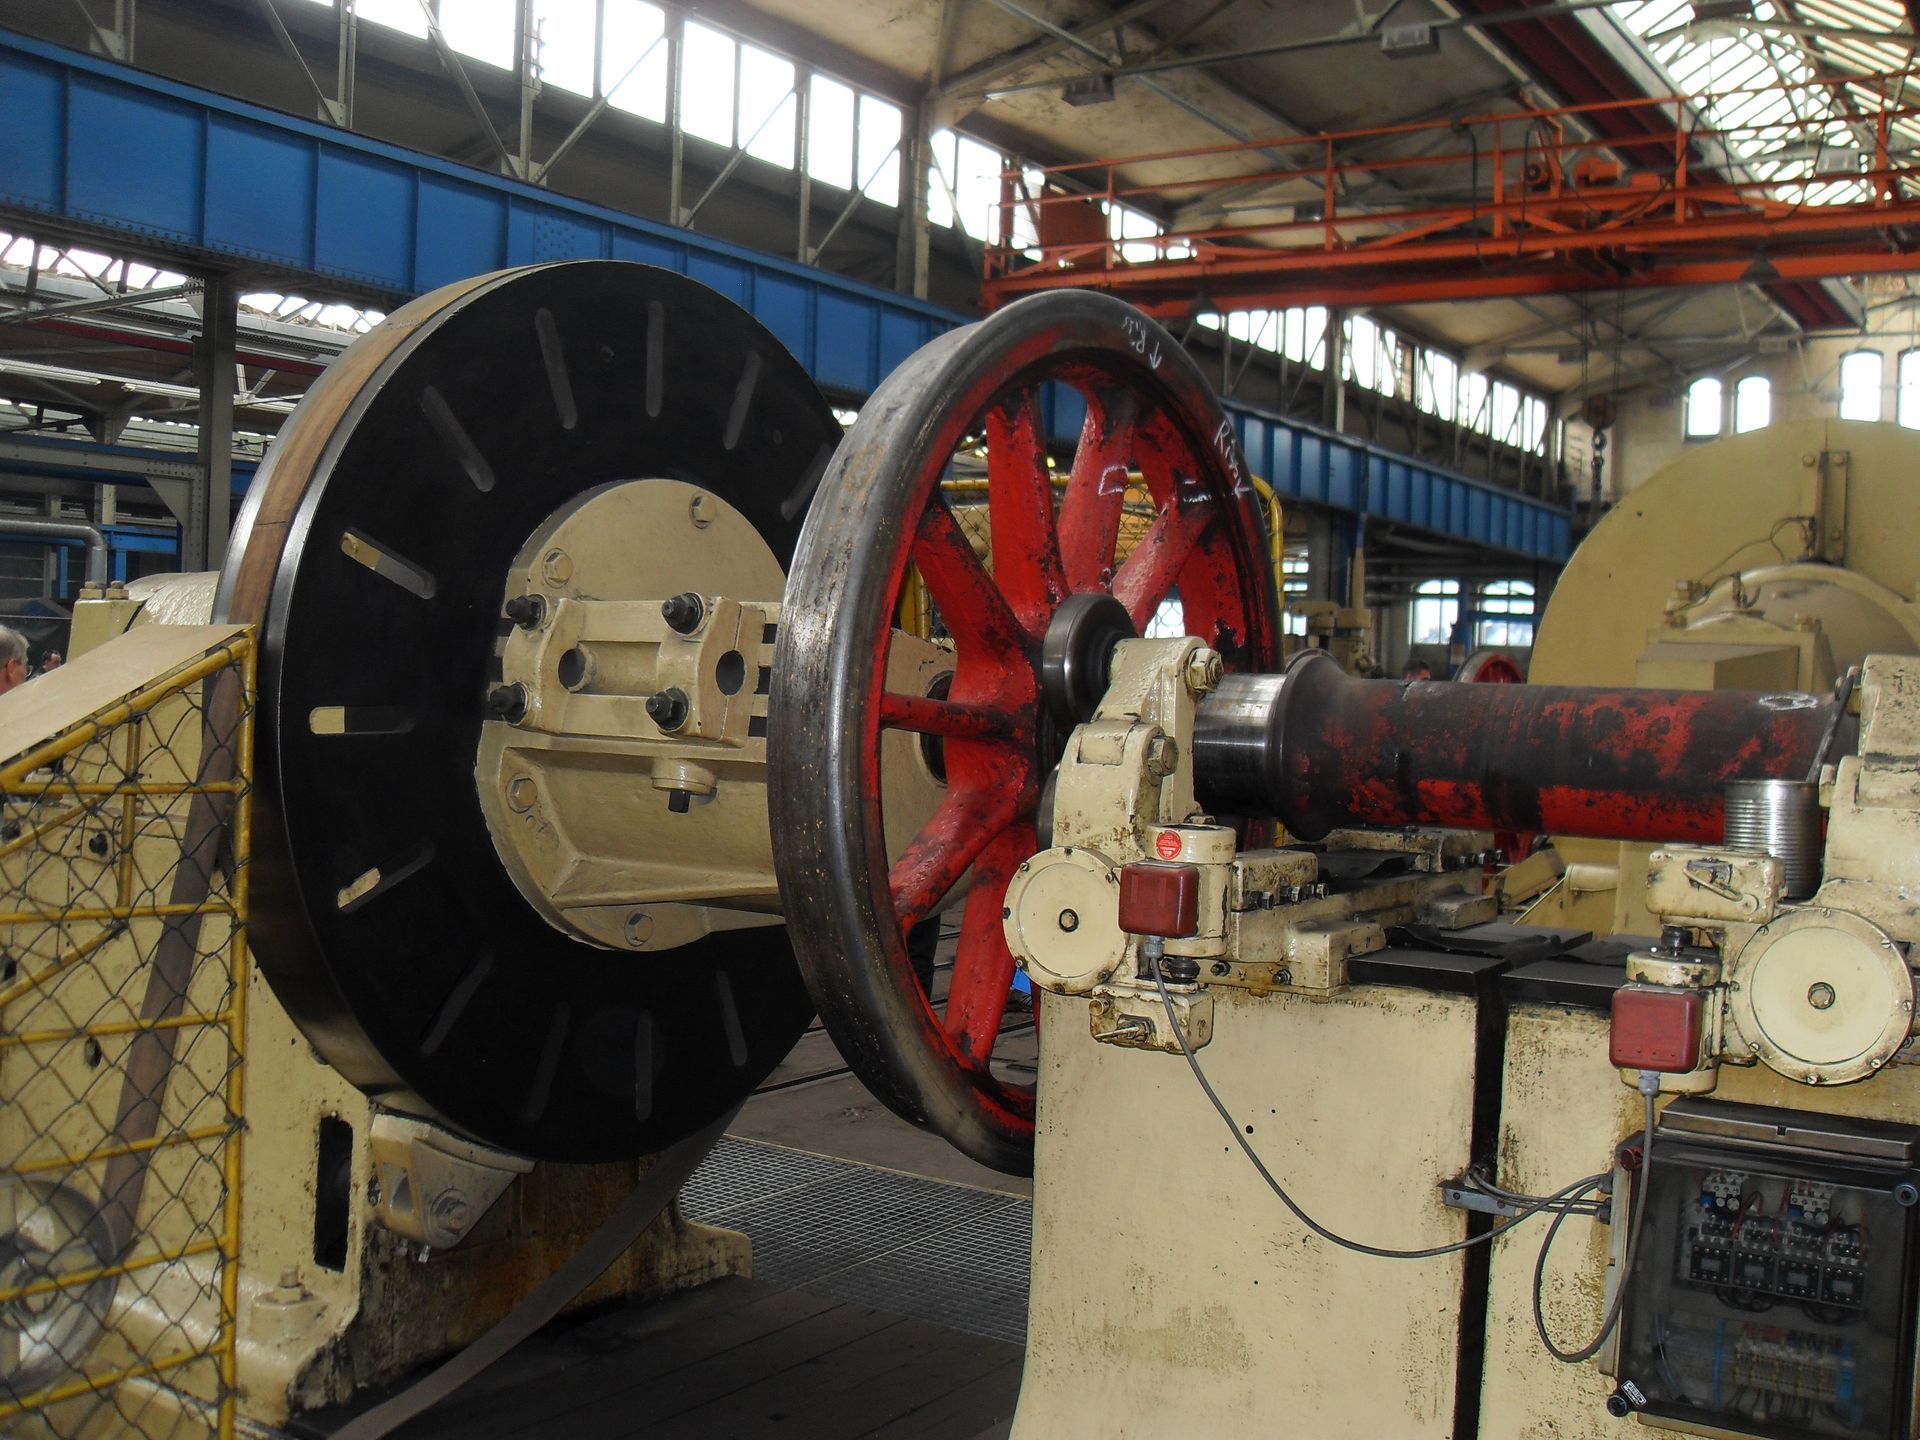
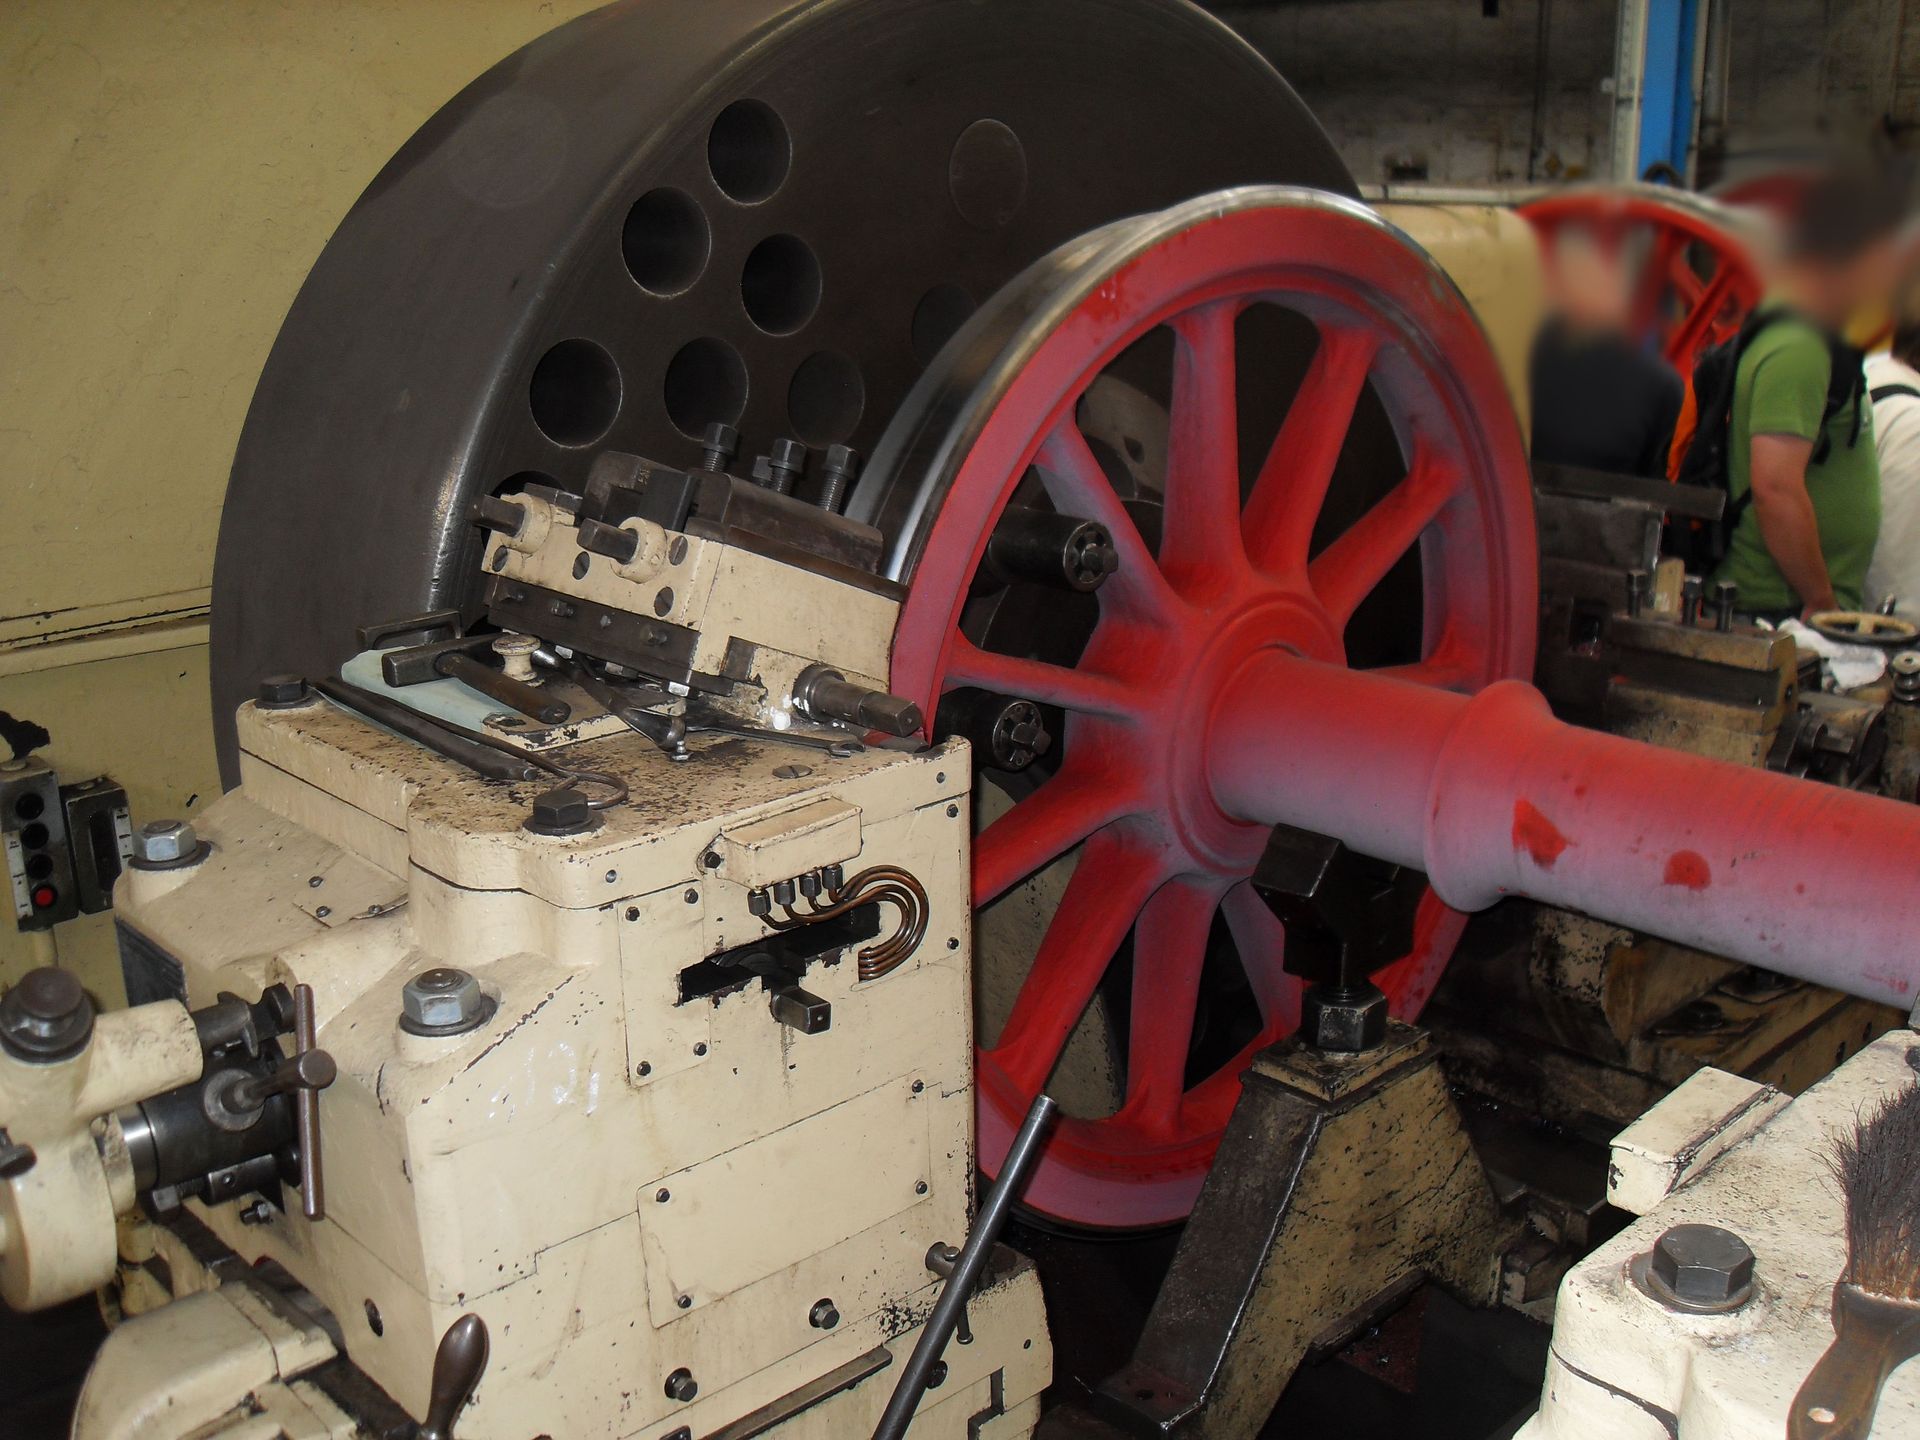
In the original, a wheel set consists roughly of five parts: the axle, the wheel spider and the wheel rims. These are all pressed together and then worked on the lathe to ensure a high degree of concentricity. It sounds simple, but mechanically it is a job that has to be carried out precisely from the start.
The same applies to model making. I make all the parts of the wheel set individually. First the axles. For this I got some ground pins with a diameter of 2mm, which I drilled into on both sides with a center drill. The length of the pins should correspond to the width of the finished wheel set.
Next, I make the wheel bodies to accommodate the wheel rims. To avoid a short circuit on the model railway, my wheel bodies are made of plastic (POM) which is easy to work with. This means that the wheels are insulated from the currents in the rails.
Now the first problem arises, because POM has very good sliding properties and cannot be glued. This means that if I connect the wheel body to the axle, I cannot achieve a really stable connection that would allow the wheel set to over-rotate. This can be remedied by using a brass bushing that is first placed on the axle before the wheel spider/wheel body is pushed onto it. A press dimension of 0.02 mm between the axle and the bushing is sufficient. Other dimensions are of no advantage.
The wheel rim is then pressed onto the wheel body last. I press the first wheel rim onto the wheel body on the lathe because I need a precise linear guide for this. For the second one, I like to use the machine vice. Once all the parts are married together, you already have the wheelset. It is important that the wheel rims have not already been turned to the exact size. 0.1-0.15mm should still have to be turned off. Now comes the fine-tuning. The wheelset is clamped between two centers on the lathe; the centering holes in the axle are used for this. I built a special auxiliary tool for this that works similarly to a turning heart. This gives the wheelset 100% concentricity.
Since we are talking about a very fine and difficult construction here, I advise against over-turning with form chisels. This creates too much force, which would destroy the wheel set. I use a small pointed chisel and work my way forward step by step. The largest adjustment I use is 0.05mm.
Small needle files are also ideal for finishing the wheelset and deburring edges.
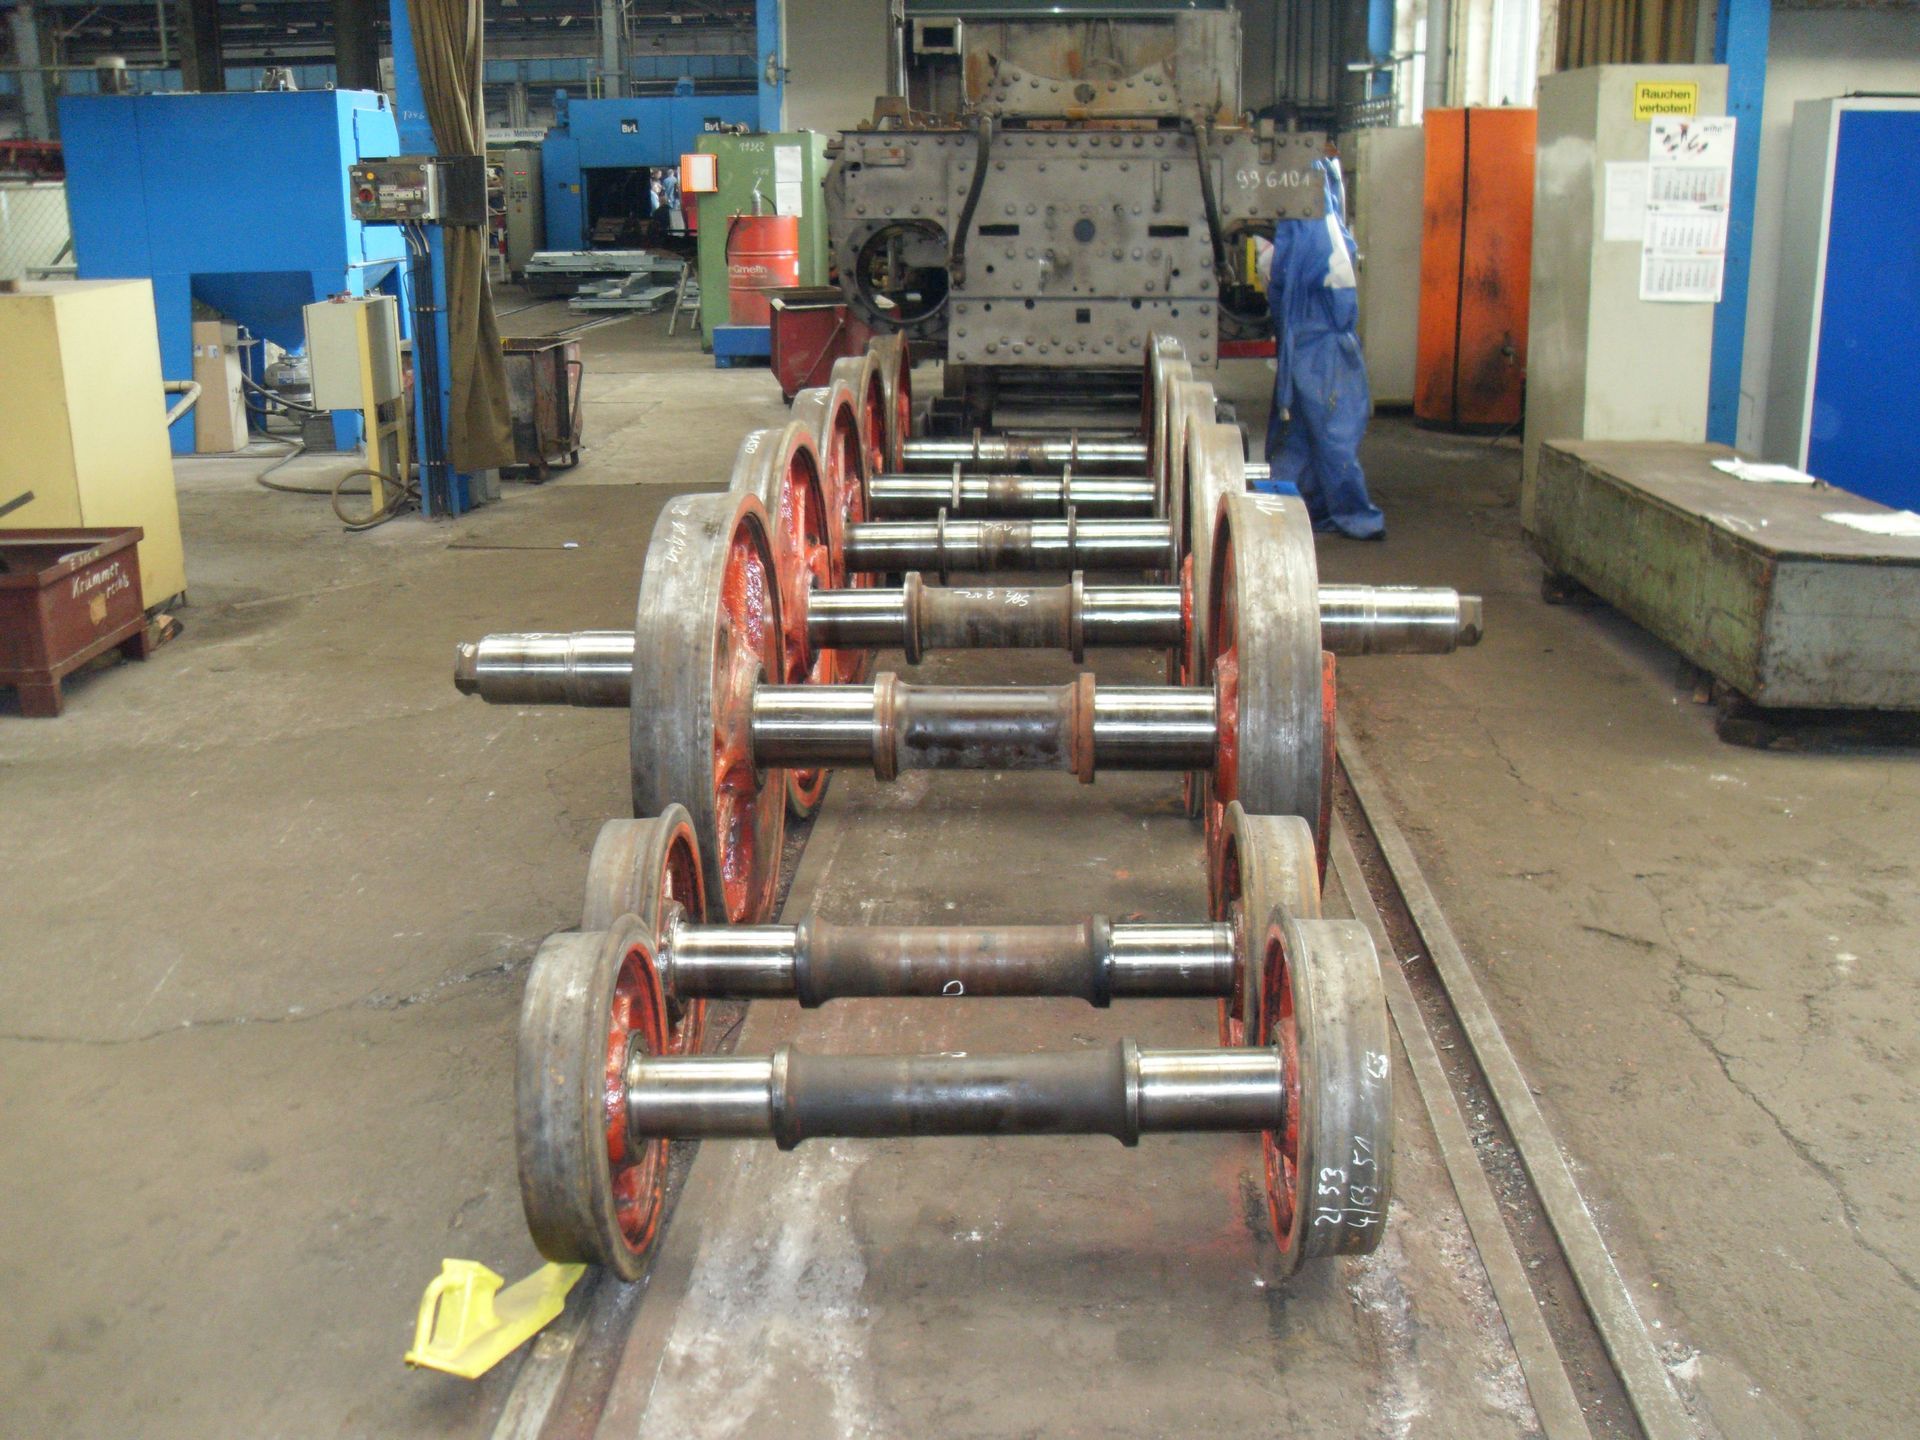
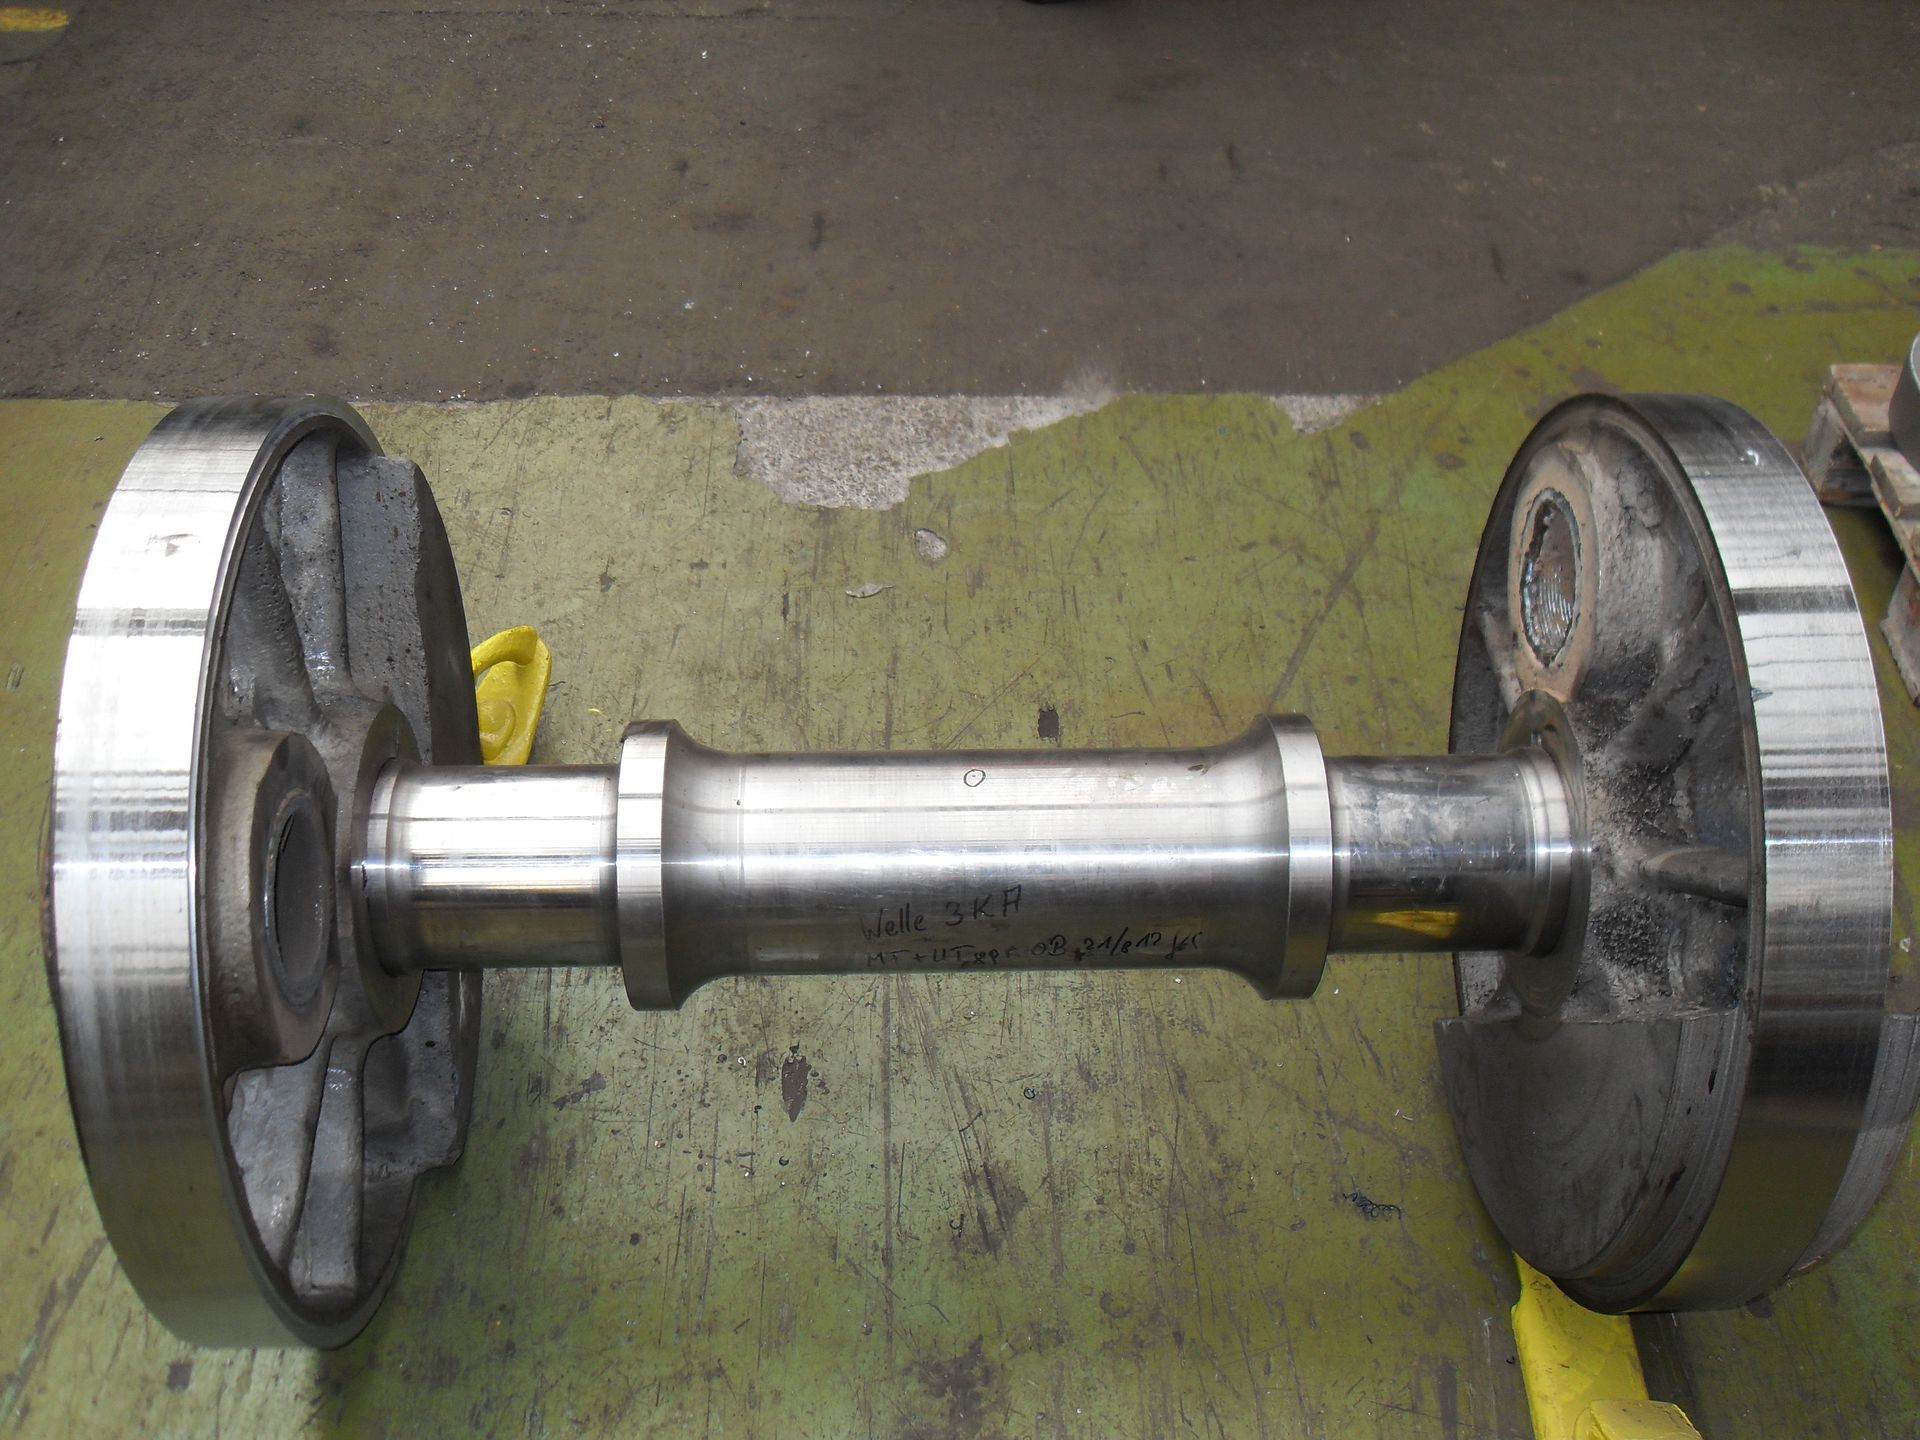
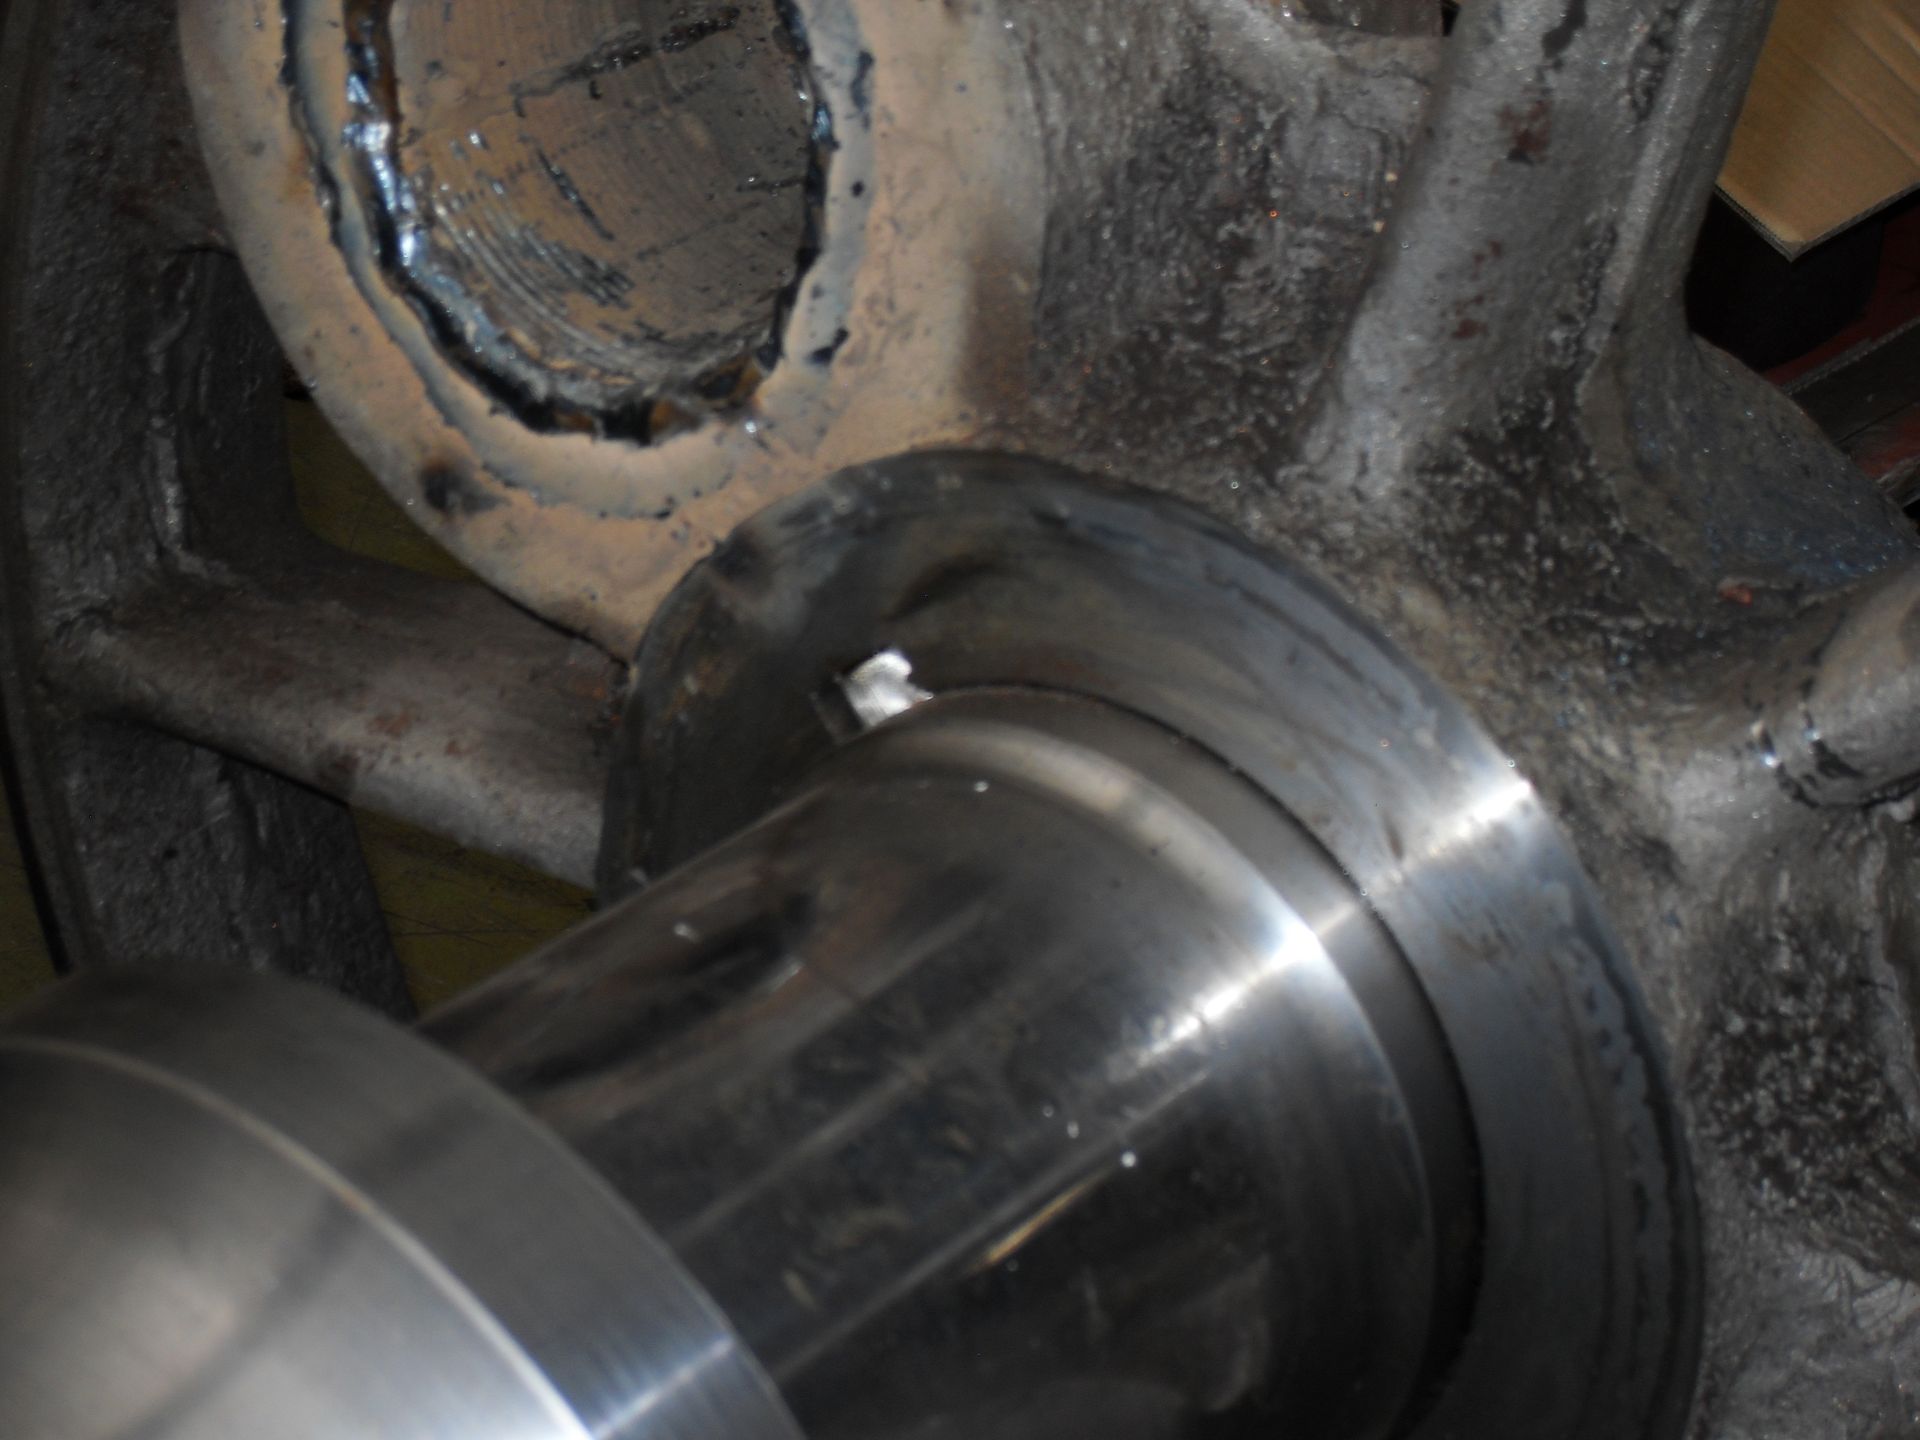
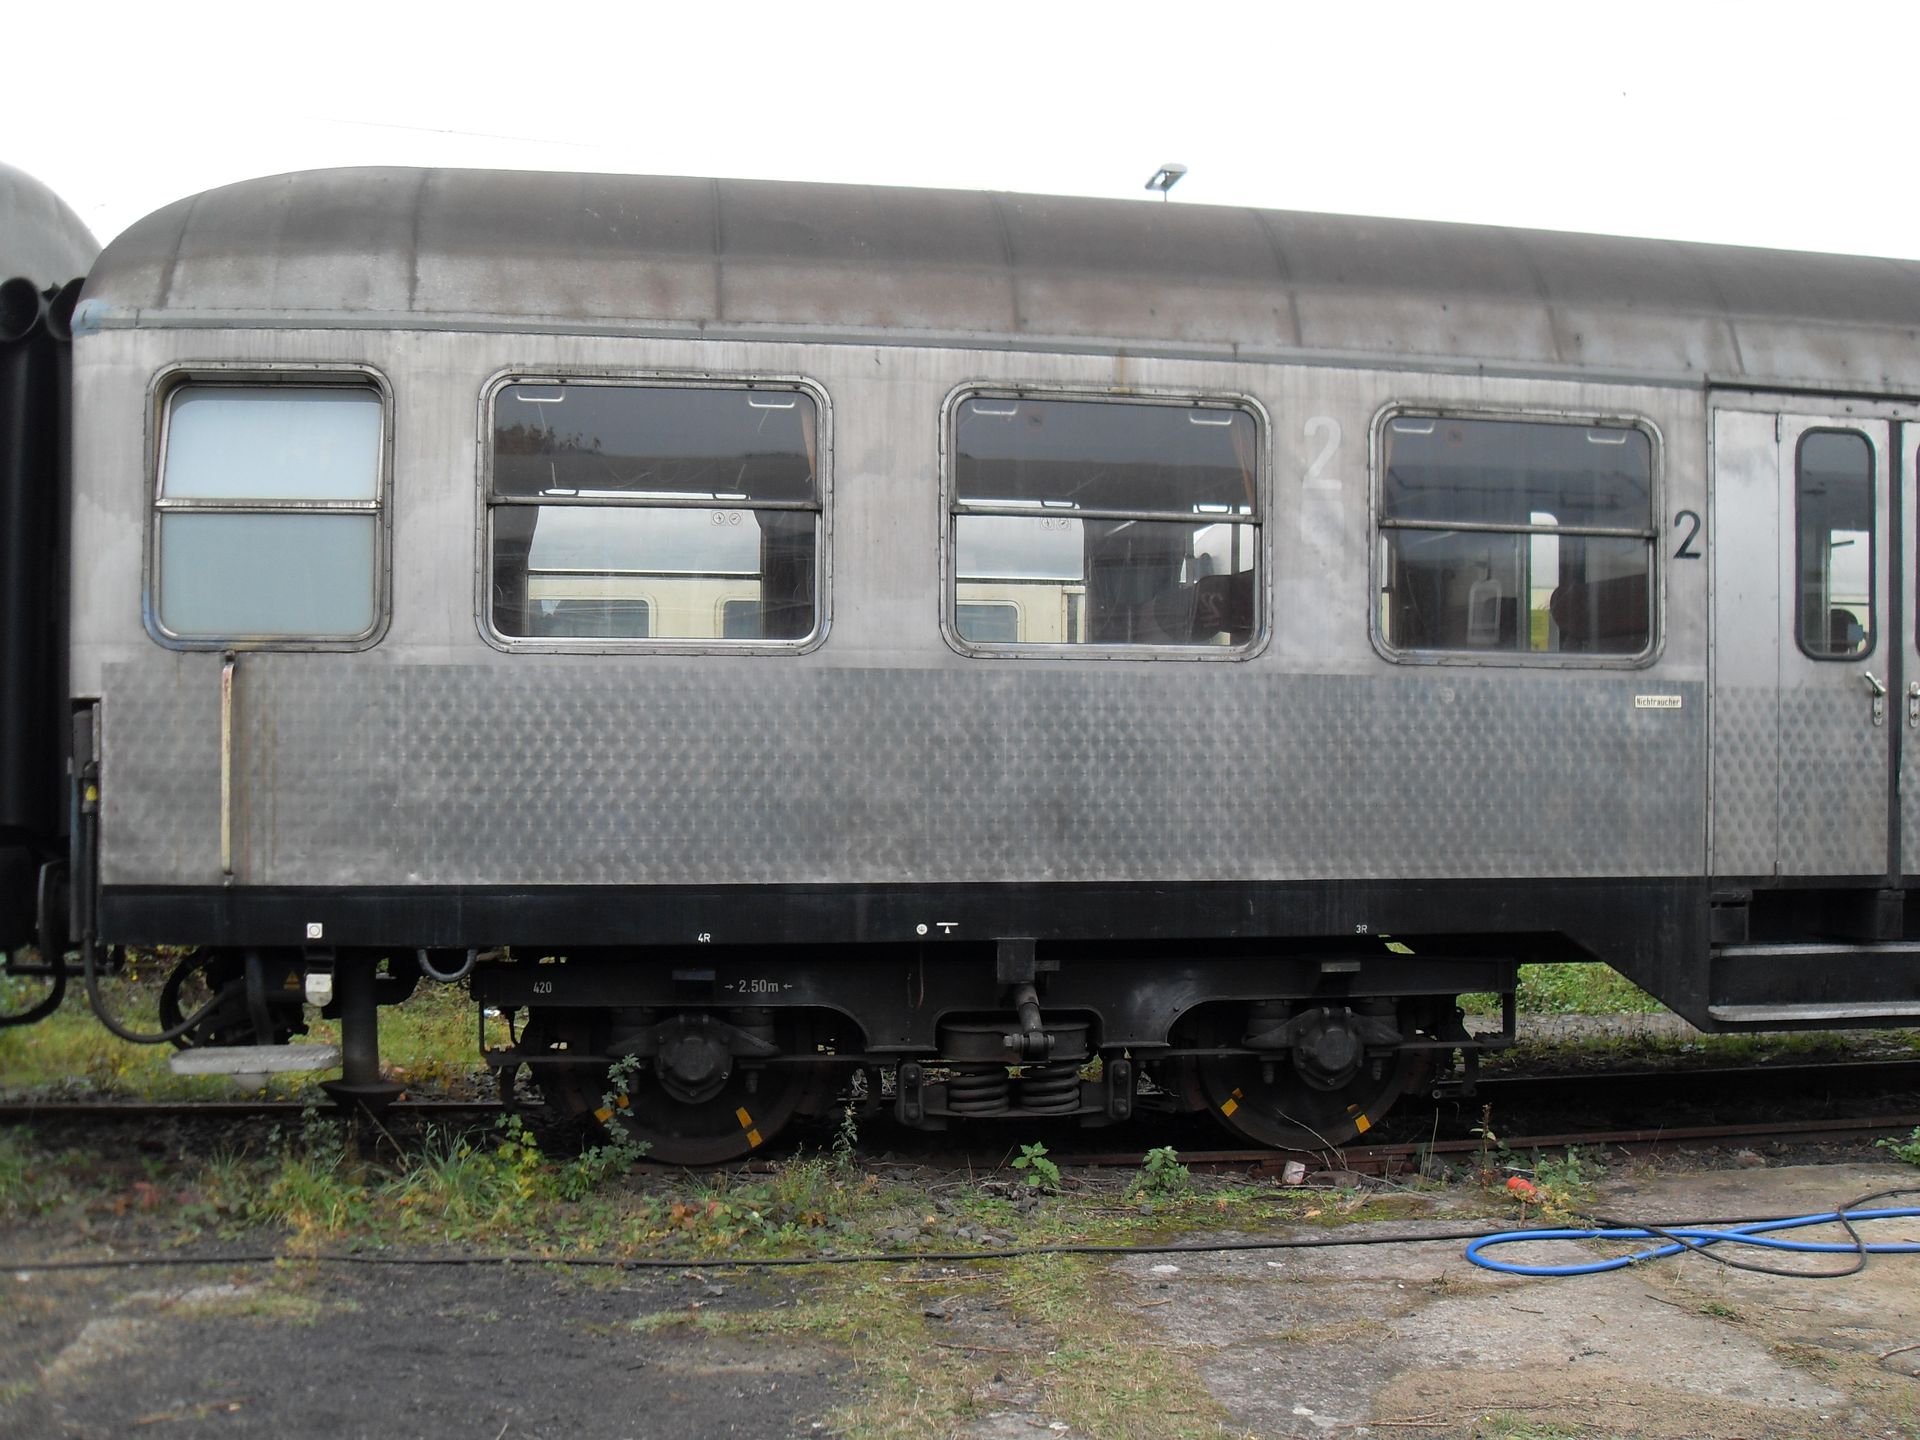
Yellow stripes can be seen on the wheels of the silver car. They are used to check the wheel tires. If the wheel tires are twisted, the lines are no longer in line
and it would need to be improved.
The colors
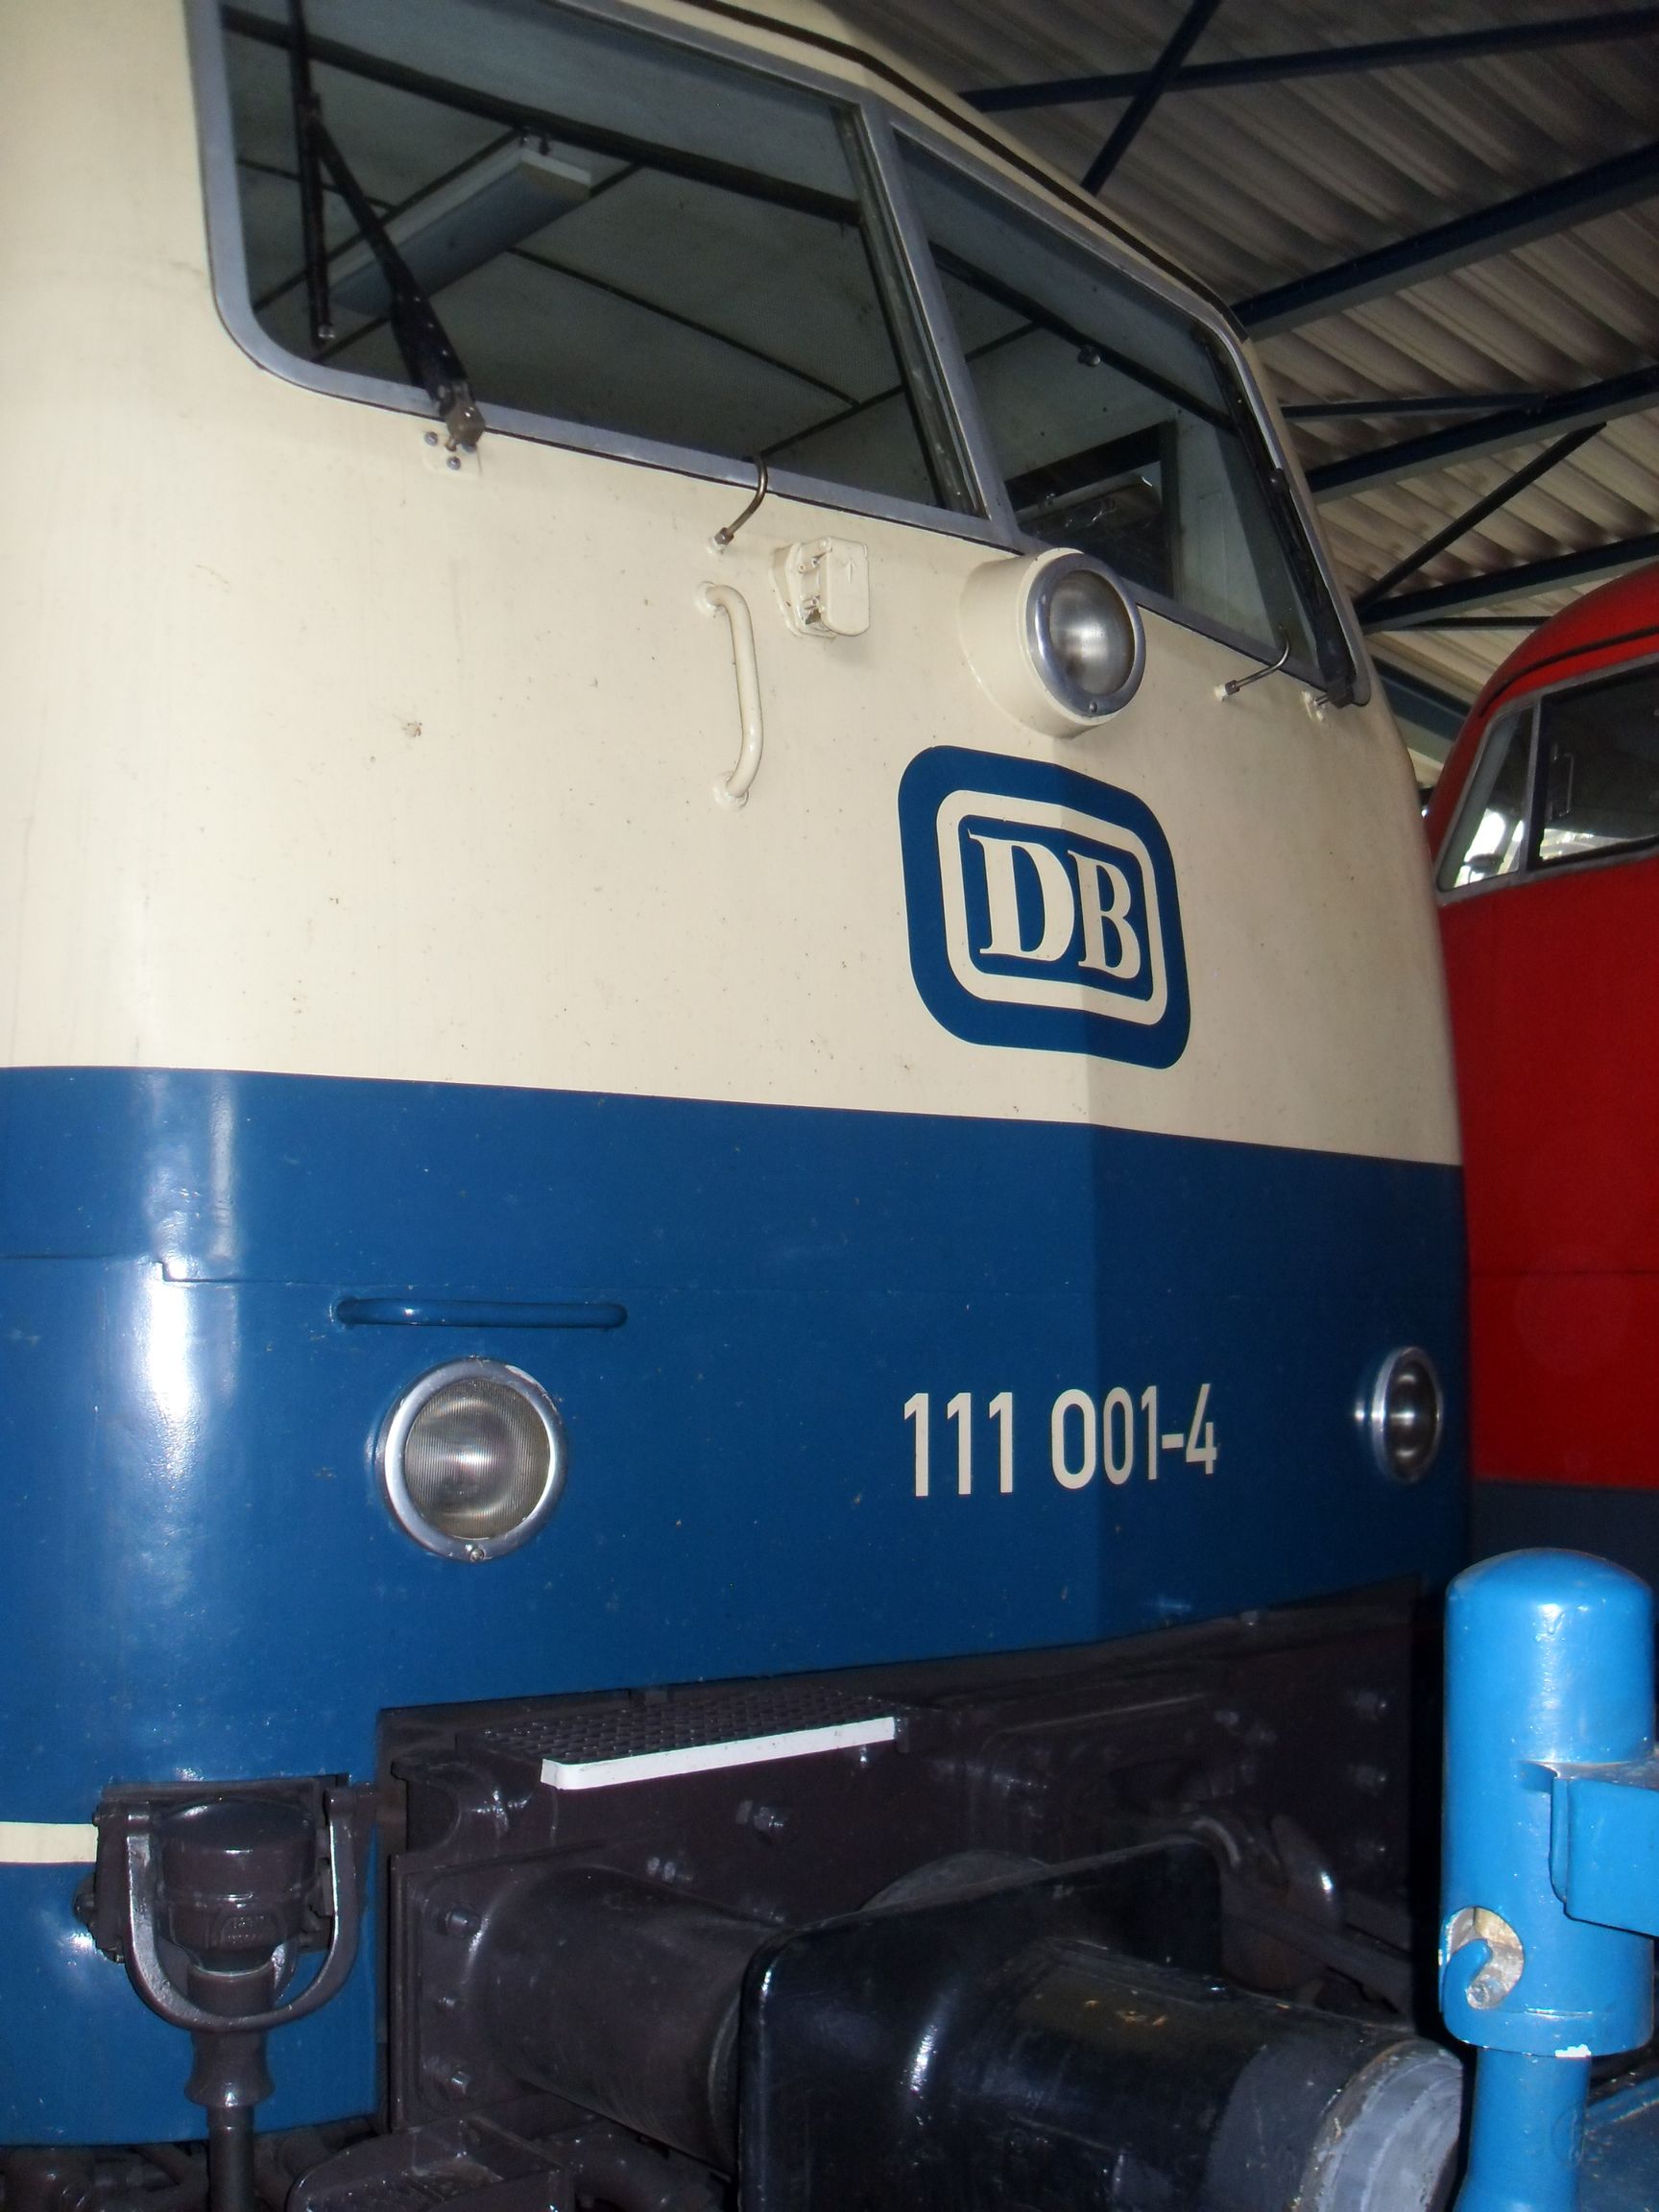
When the class 111 001-4 locomotive saw the light of day, it was in December 1974. The DB's new color concept from 1975 already applied to it.
Current collectors / roof cables in chimney red => RAL 3002
locomotive body / decorative stripes in ivory => RAL 1014
lower part in ocean blue => RAL 5020
Dachaufbauten in umbragrau => RAL 7022
Undercarriage / bogies in grey-brown => RAL 8019
By the way: the locomotive belongs to the DB Museum and is located in Koblenz Lützel
